How to Organize Patient Resources: A Field Guide for Nonprofit Professionals [Part 4]
Nonprofit professionals have a lot of responsibilities. One of those is organizing the resources on their website. However, this is usually not their top priority.
A poorly organized site can lead to visitor confusion, frustration, and abandonment. If you want to educate, engage, and turn your visitors into donors, this isn’t what you’re looking for.
In part 2 and part 3 of this series, we covered attracting visitors via SEO and writing great content that keeps them hooked.
This guide will teach you how to best organize the rest of your resources so that patients are encouraged to browse other pages on your site.
By following these tips, you’ll be able to further educate and engage your audience using your website.
Do I need to reorganize my resources?
One of the first questions you might ask is if your site needs to be reorganized.
Here’s a quick, informal test. For each of the statements below, mark if you agree. Then tally your score at the end.
- Staff members often cannot find specific pages on our site.
- We routinely get emails or calls from people about information that’s available on our site.
- We don’t get a lot of traffic to important pages.
- We have to help people perform tasks on our site (such as providing them with step-by-step instructions on how to register for a program).
- Our site feels like a maze you have to explore in order to find anything.
- I have to think about how to accomplish a task on our site, instead of just doing it.
If you scored 4 or more, you may have a problem with how your website is organized.
How to categorize and organize resources
There are many ways to reorganize a website. The method you choose will depend on:
- The size of your website
- Your staff’s capacity
- How much you can spend on outside help
Here’s a general process we suggest as a starting point, however:
- Perform a content inventory of all the pages on your site (or just your resources, if you prefer). This is usually done inside a spreadsheet.
- Review your inventory and make a list of topics (no more than 30-40) covered by your site.
- Write those topics on index cards and perform a card sort to group related topics together. You can do this internally, or hire a researcher to help you.
- Use the findings from your card sort to draft a “tree” representing your new navigation and content structure.
- Compose tasks (e.g. “find information about symptoms of bladder cancer”) and perform a tree test to see how well your new menu structure performs. Test and tweak the structure until you’re happy.
- Go back to your content inventory and assign all the pages of your site to the appropriate item in your new tree.
- Apply the changes to your site.
If you’re willing to put in some elbow grease and take a few courses on user experience course and content strategy, you can do this yourself.
You can also hire outside help if you have the budget and would rather not risk getting something wrong.
Tips for keeping resources organized over time
Once you have your site organized, you need to keep it that way. (Otherwise, you’ll be right back to where you started.)
Here are a few ideas for keeping your website organized over time:
- Perform regular content audits: At least once a year, go through all the resources on your site and make sure they’re still accurate and relevant. Remove any outdated information.
- Update your navigation as needed: As your site grows, you may need to add new pages or sections. Instead of automatically putting it under an existing menu item, consider when you may need to revise or add new ones.
- Get input from your users: Use behavioral analytics such as Hotjar or Microsoft Clarity to see how people are using your site. If you notice people are having trouble finding something, make it easier to find.
The most important thing is to take regular time to stop and reflect.
In the chaos of day-to-day life as a nonprofit professional, it’s easy to just throw something onto your site and move on.
If you don’t step back and examine your site from time to time, you will wake up to a mess a few years later.
What are some common mistakes when organizing resources?
Mistake #1: Information overload
One of the most common mistakes when it comes to resource organization is putting too much information on one page.
This can be overwhelming for visitors and make it difficult for them to find what they’re looking for.
Instead, try to limit each page to a few specific categories or topics. If you have a lot of information to include, consider breaking it up into multiple pages.
Mistake #2: Mystery titles
Another common mistake is using vague or generic titles for pages and resources.
This includes any kind of made-up terminology you use internally, acronyms that are not fully spelled out, or program names that are not intuitively obvious.
All these things can make it difficult for people to know what they’ll find on a given page. Be as specific and clear as possible in your titles so people can easily find what they need.
Mistake #3: Outdated information
Finally, it’s also important to review the relevance and accuracy of your content as you reorganize it.
After all, there’s little point in having well-organized information if it’s not helpful.
If you have outdated information on your site, it can give visitors the wrong impression of your organization.
Examples of successful patient resource organization
We’ll finish off this article with some examples of well-organized patient resources.
Example #1: National Kidney Foundation
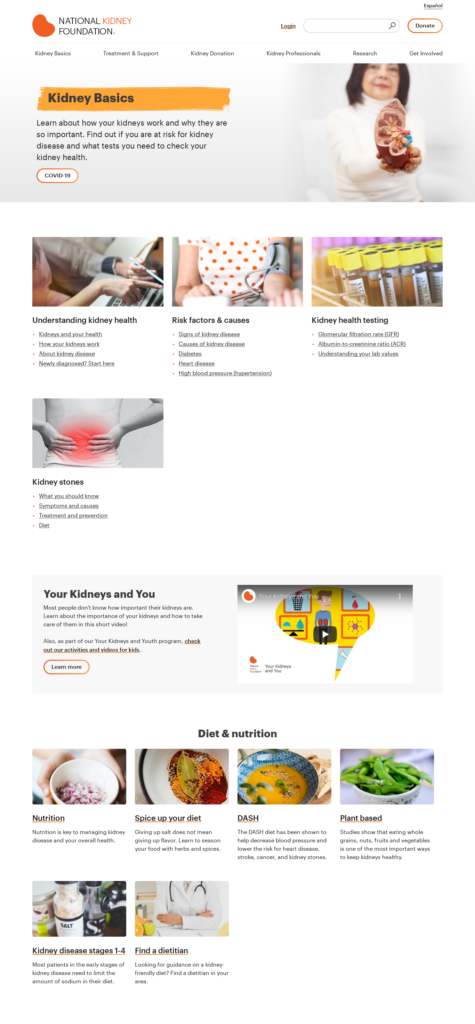
What we like:
- Easy-to-understand titles
- Focused on helping the user navigate (not educating them at the same time)
- Clear, delineated sections
Example #2: American Institute for Cancer Research

What we like:
- Common topics clearly placed on the home page
- Prominent search bar (about 1/3 of visitors prefer navigating via search)
- Topics in the menu are simple and clear
Example #3: JDRF
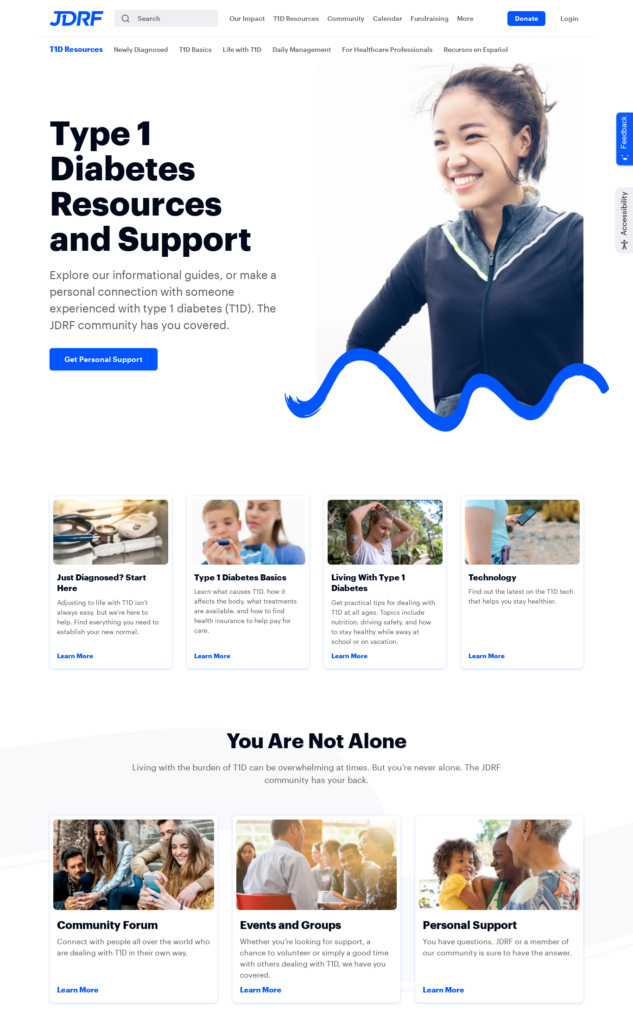
What we like:
- Has options based on the stage of a patient’s journey (e.g. newly diagnosed)
- Places informational and support content next to each other
- Submenu items visible in the header
Conclusion
In this article, we’ve covered:
- If you need to reorganize your site.
- How to organize your resources most effectively.
- Tips and mistakes when organizing resources.
- Examples of well-organized patient resources.
All these steps will help you craft a website that encourages visitors to stick around and explore.
In part 5 of this series, we’ll be discussing how to convert these visitors to help retain and engage them.